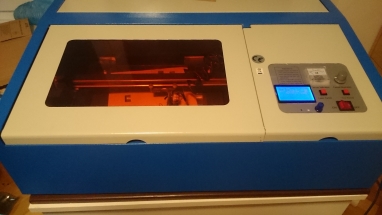
Homemade modified CO2 Laser-Cutter K40 (40 Watt):
motivation for upgrading:
- bigger workspace
- air-assist
- opensource controller
- standalone device
- focus gauge
- Z-table
- opensource software
- inlens laserpointerThe project has finished now. Here are some details of my experiences:
workspace
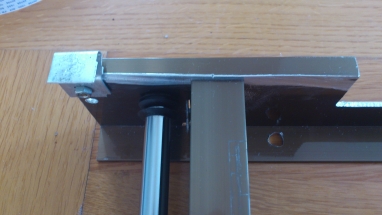
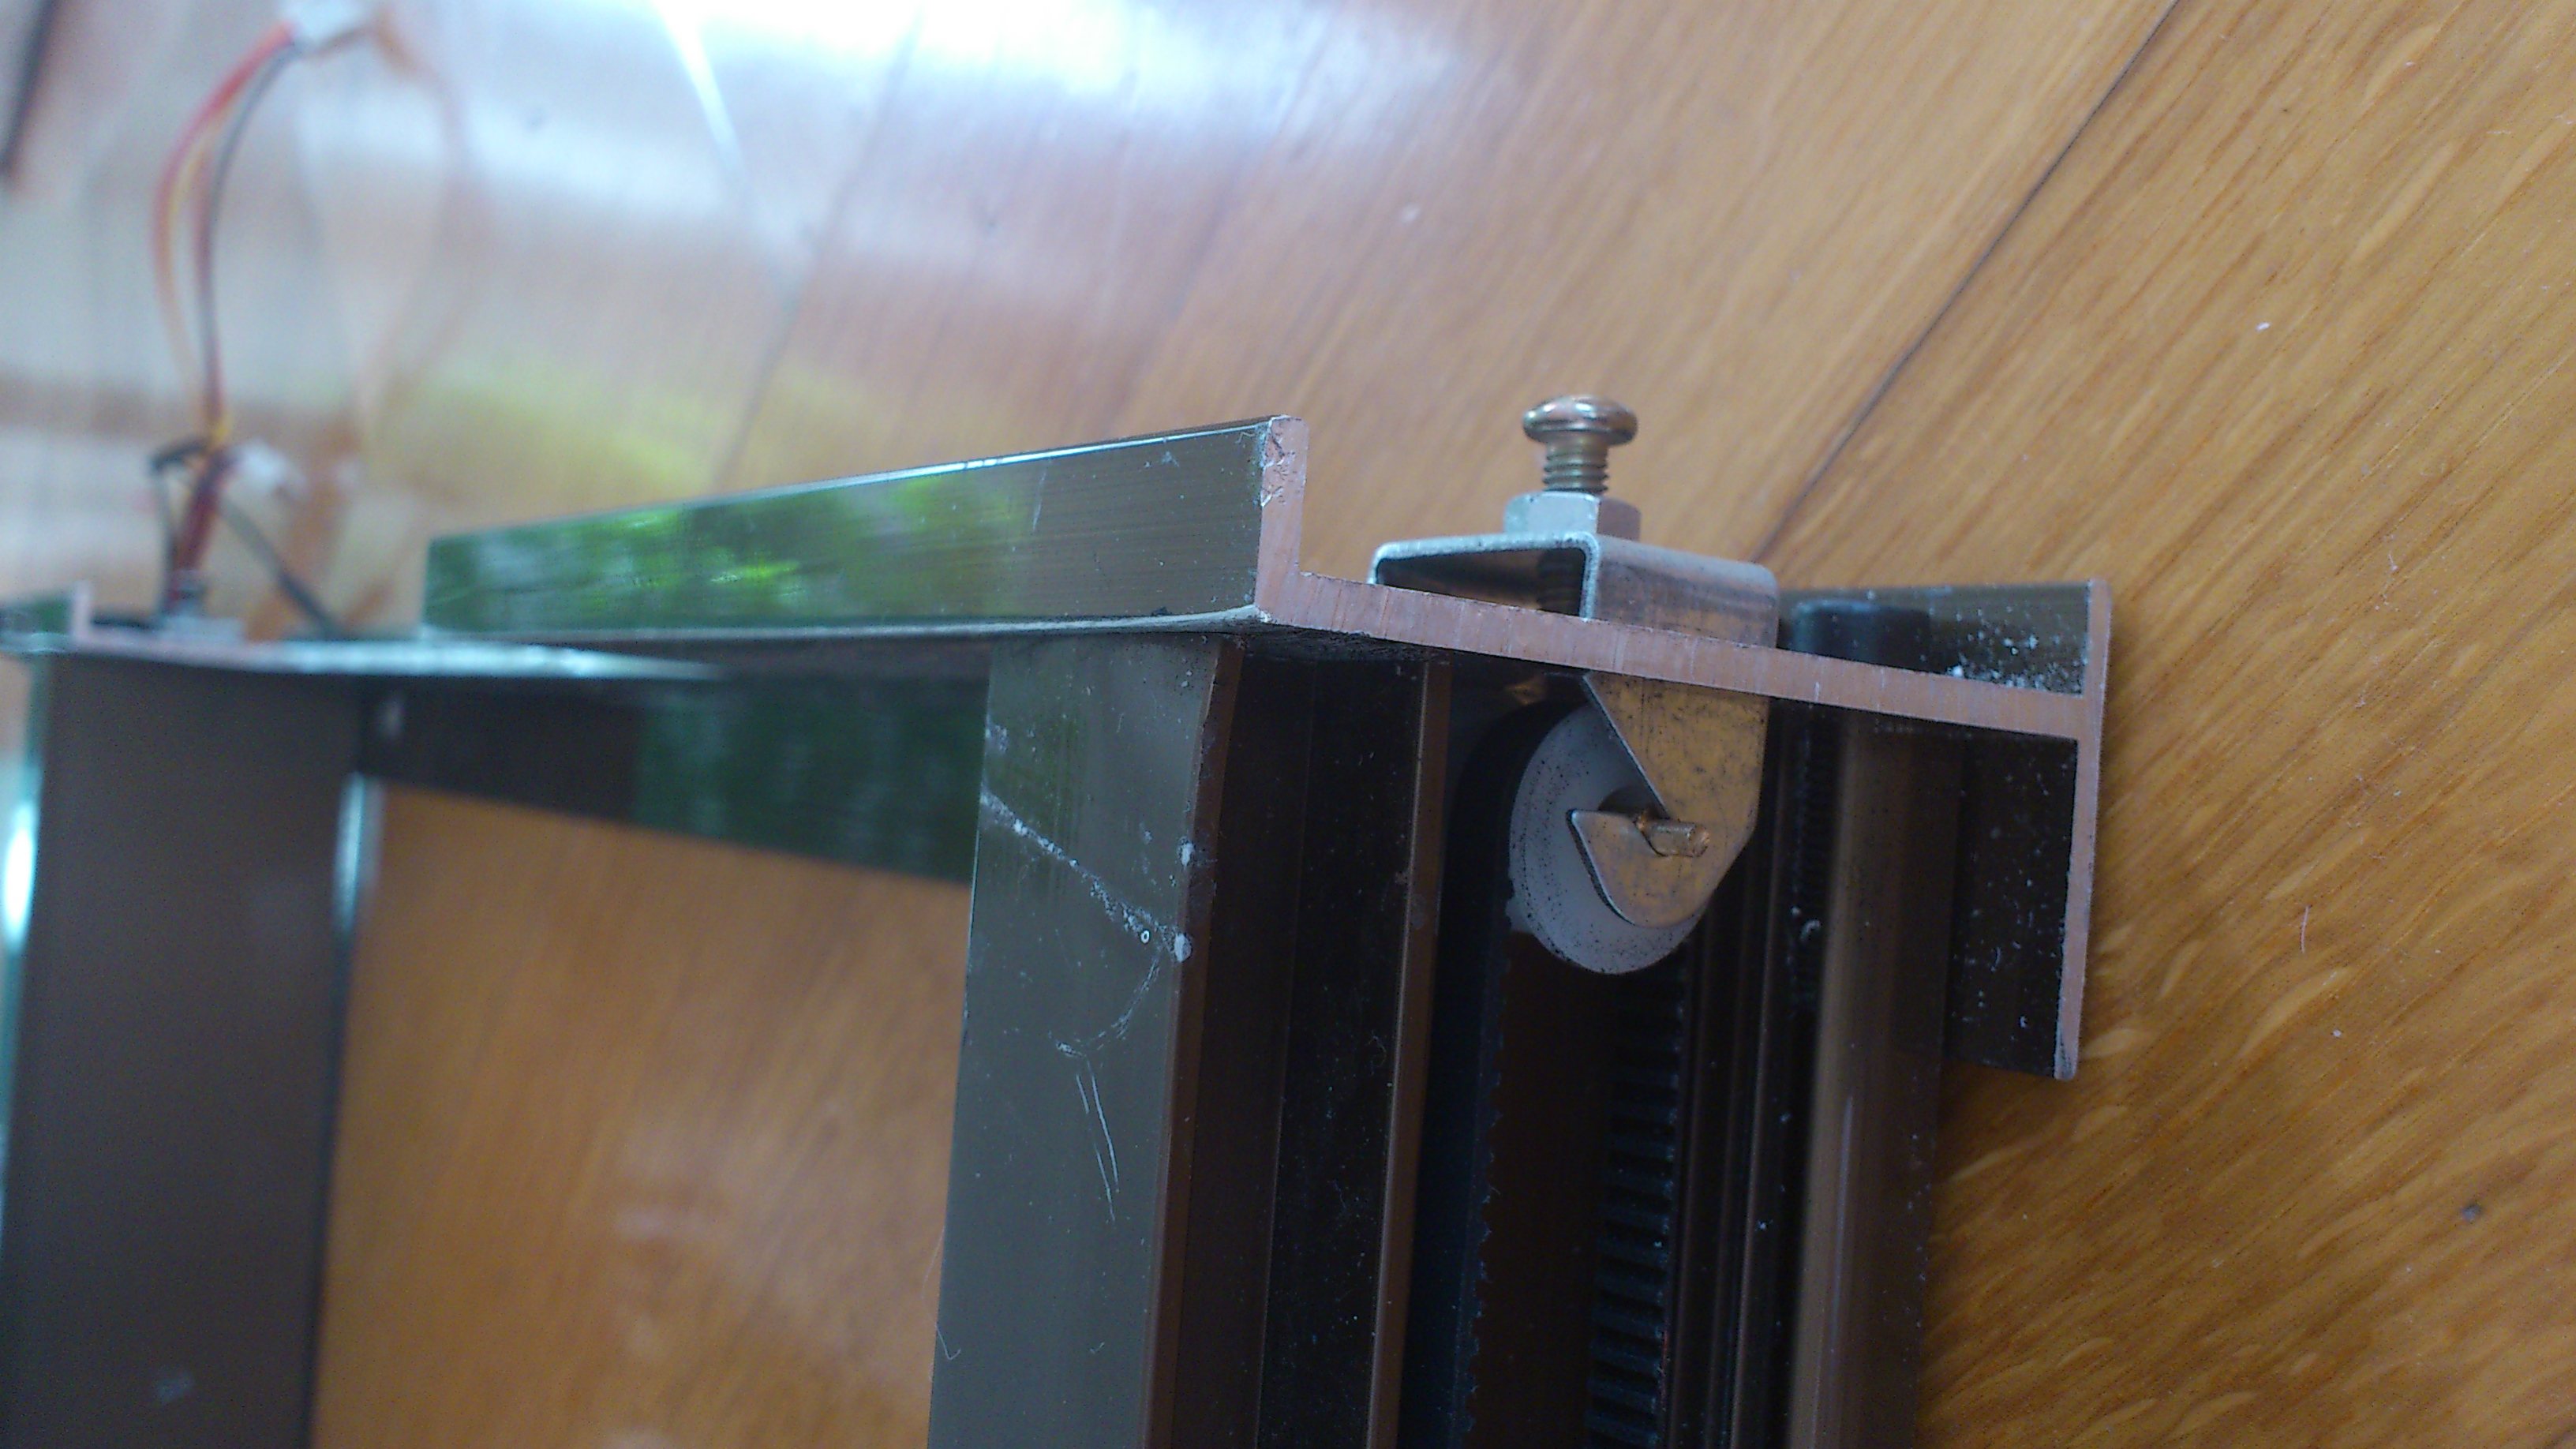
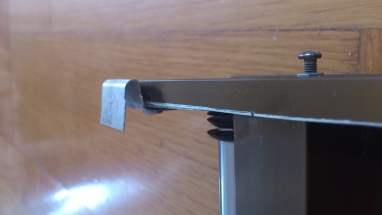
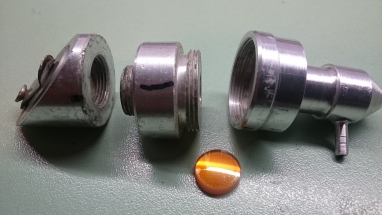
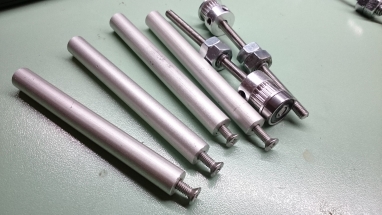
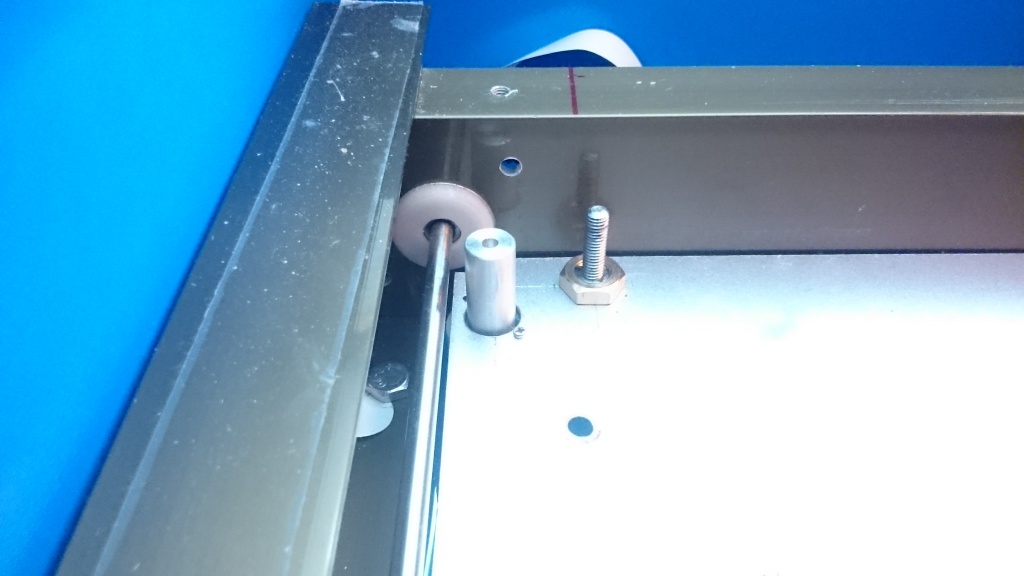
The workspace has been expanded from original dimensions (300 x 200 x 80) to 340 x 270 x 80 mm. Some “heavy” modifications were neccessary, i.e. removing some distance holders on the Y-axis, removing the dust inlet, cutting the I-profile on the rear side (see pictures), removing the ground plate distance holders, reposition both mirrors on the transport, changing the dual shaft coupling. Best practise for all this modifications: remove the whole transport for better working outside the main casing.
Cutting the I-profile gives more space in Y-direction
Changing the dual shaft coupling
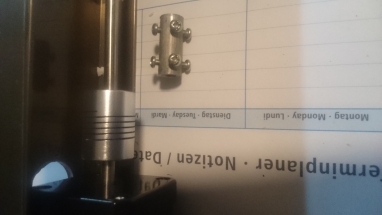
Due to the bigger workspace, the endstop parts have to be repositioned. After some cutting experience, I don’t use the endstops anymore because my normal cutting workflow is: manually positioning the transport to the coordinates of the workpiece and start the job. With some pre/post G-codes you can first remember the actual (manual) position and return to this position afterwards, there is no need of a homing process. The only thing you have to take care is not exceeding your workspace dimensions by your overall cutting rectangle. Anyway, here are some pictures of my endstops if someone want to mount them.
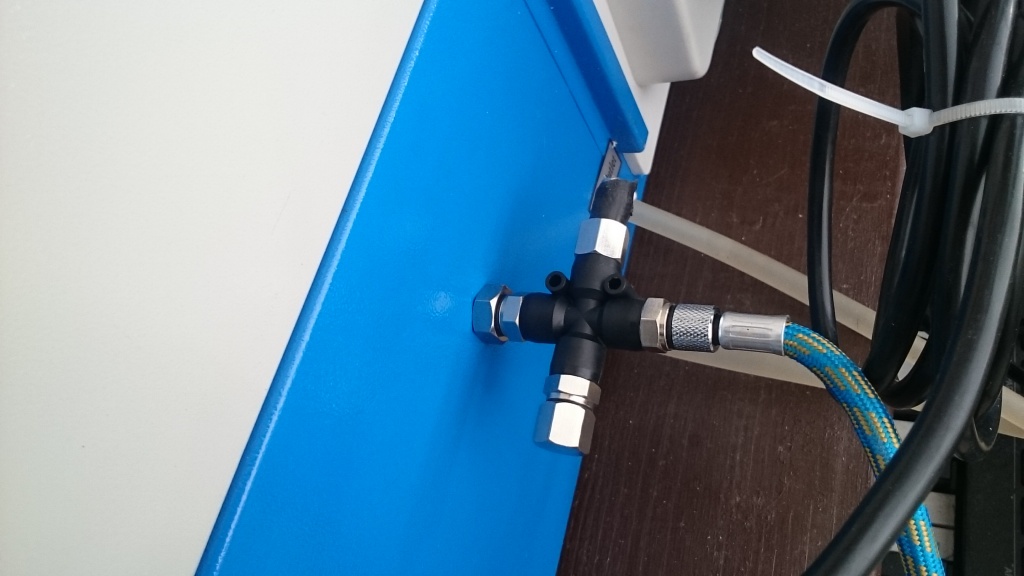
air-assist
The first attempt was to use a very cheap air pressure pump, typically used in some blood-pressure gauges. For driving this pump, an electrical wiring was needed. The nozzle was a piece of pom milled to the dimensions of the lens tube.
After some days, the pump gave up its operation (was very loud but without generating air pressure anymore), so I desided to rework the air-assist, not at least because the airflow was not sufficient enough. The new air-assist has now an airbrush-compressor, a metal nozzle and is controlled by a special g-code (fan-on/off) which in turn triggers an arduino-mini connected with a 433-MHz-Transmitter-Module. So I can plug the compressor to a wireless outlet and is runnung only during the cutting process. The compressor (4bar, 12 l/min) is very noiseless, so you can operate this device without problems in your home environment. PROFI AIRBRUSH PINSEL KOMPRESSOR KOMPLETT-SET
There was an empty hole on the back-case with a perfect diameter matching the compressor connection 🙂
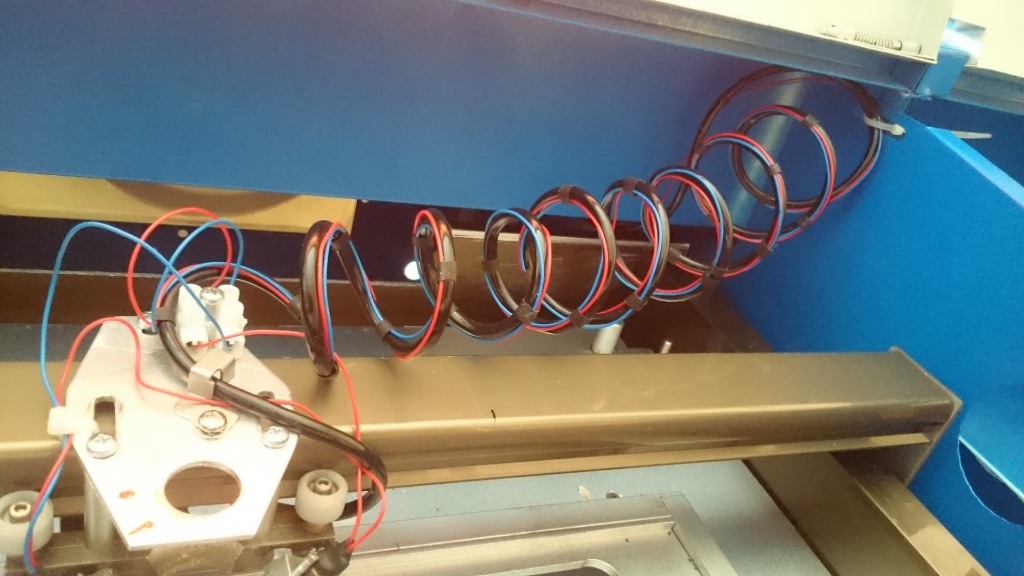
The wiring for the old pump has been removed, the wiring for the focus-gauge has been added to the airbrush tube.
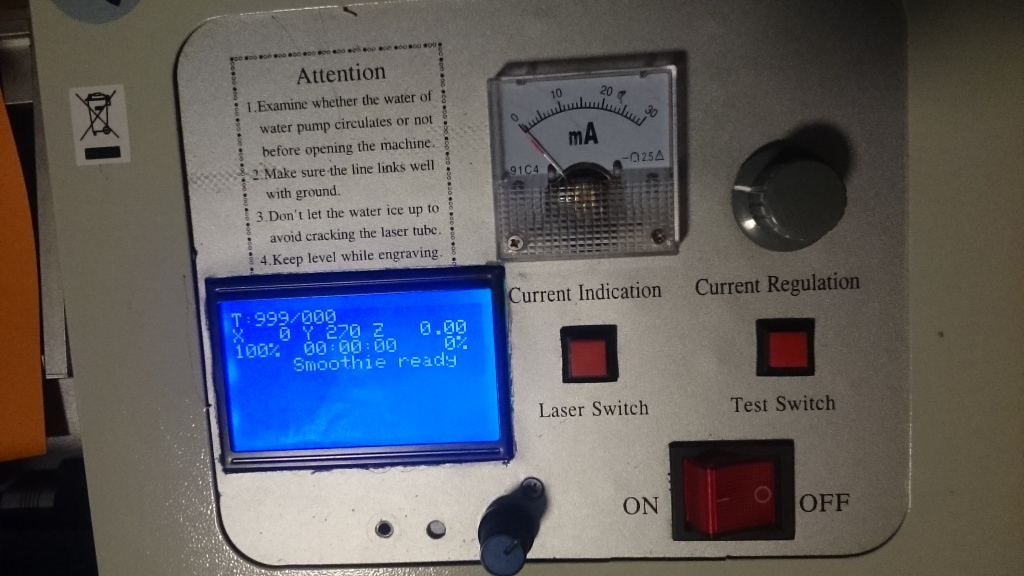
opensource controller
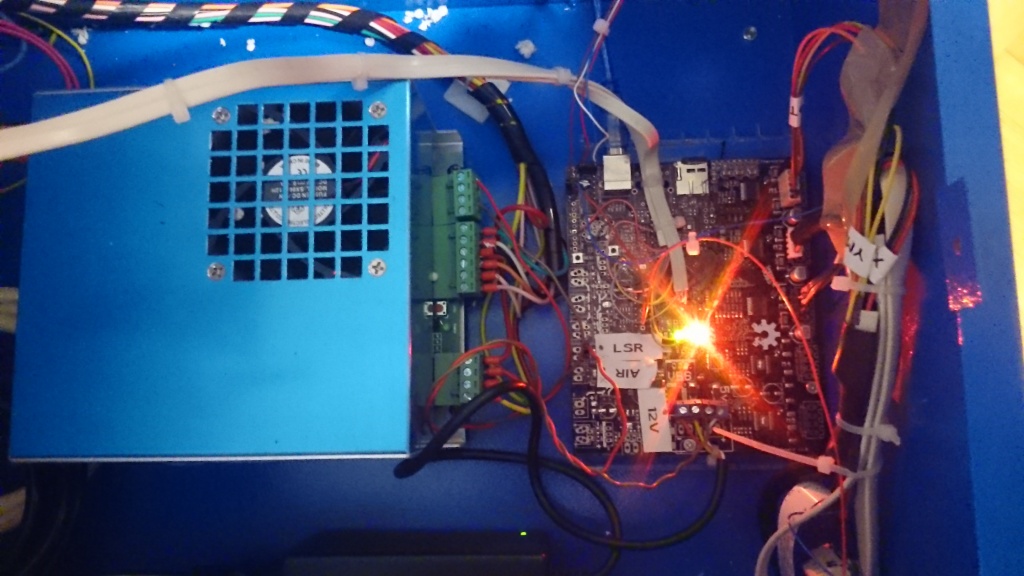
In many other projects I used the combination Arduino-Mega with ramps 1.4 and pololu drivers and Marlin software. But since this hardware is a bit oldfashioned and slow, I decided to replace the original Chinese-Japanese? m2NANO-board with a smoothieboard. I used the small “X3” configuration (no Ethernet, but with all necessary interfacing components onboard) and I’m very happy about this decision, the whole configuration process with smoothieware is a lot easier and more convenient than with Marlin.
standalone device
To use the lasercutter as a standalone device, a graphical interface board is needed. Because smoothieboad supports several LCD display controller, I integrated the very cheap Reprap “Full Graphic Smart Controller” into the Frontpanel. Only a couple of wires were necessary and the cutting jobs can now started via the display and rotary-encoder. Smoothieboard has its own sd-card integrated, so I dont’t use the extra card slot provided by the Smart-Controller.
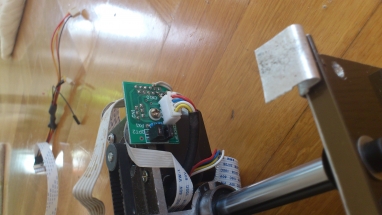
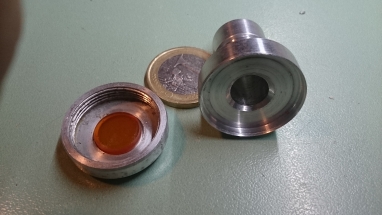
focus gauge
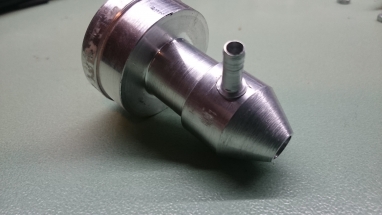
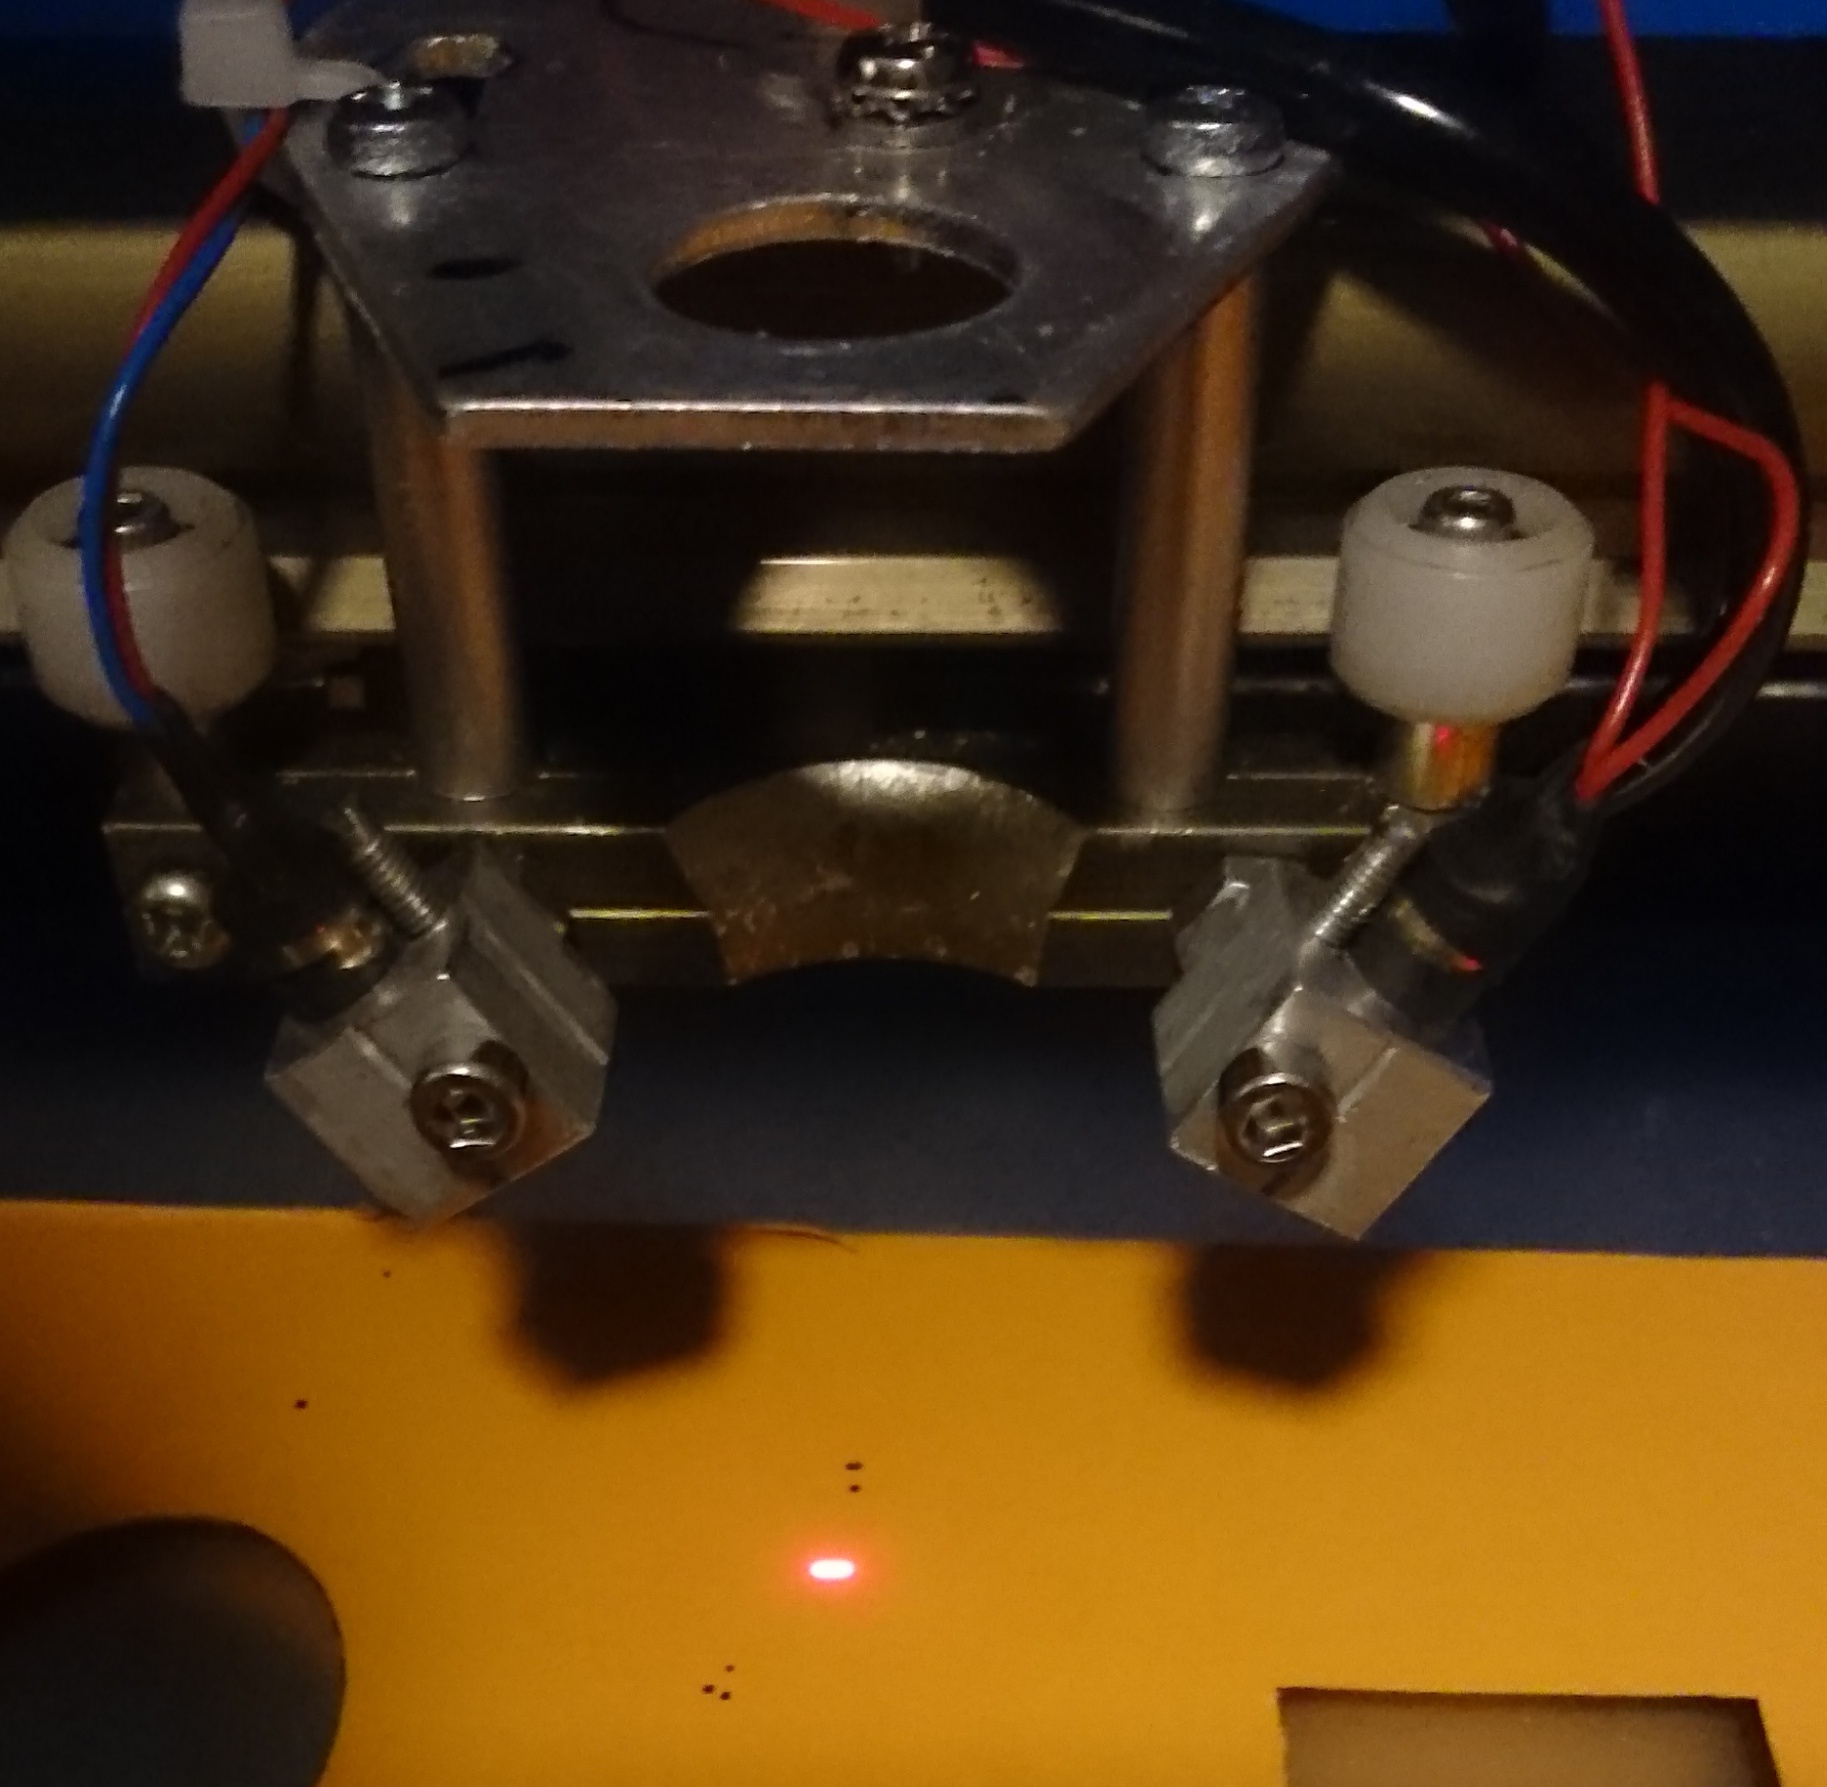
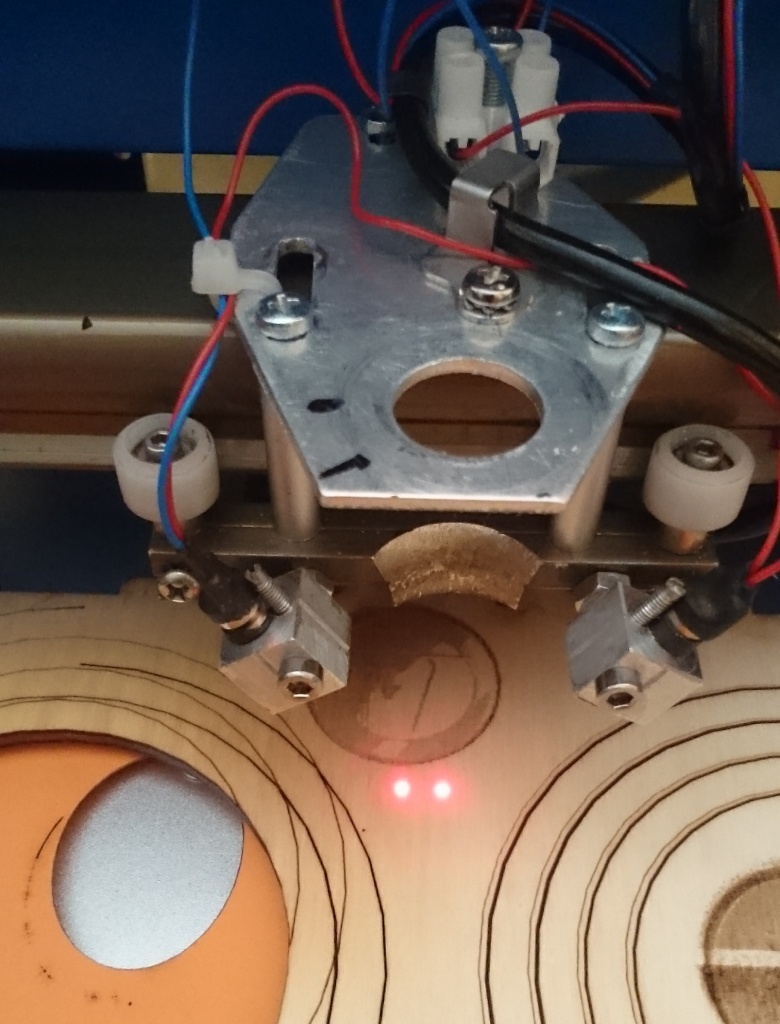
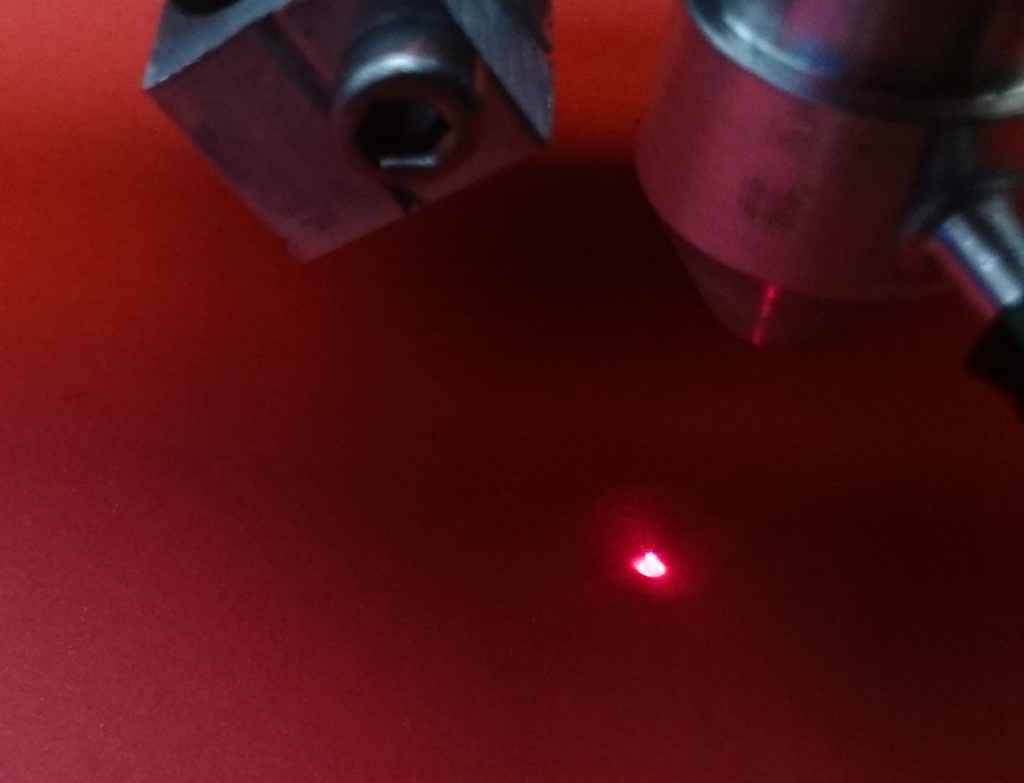
After several experiments with small red laser modules, the idea came up, not only to use the red-dot for marking the position where the big laser is starting, but also to monitor the focus point. In short, using two rays with a certain angle intersecting on the focal point of the big laser gives a perfect way to see if a workpiece is in focus or how much it is out of focus. Even an autofocus-function could be done relative easily by watching the red-dots (with a small camera) and measuring the distance.
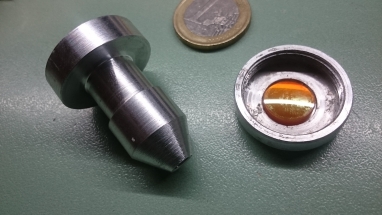
Here you can see the workpiece is in focus:
And here the workpiece is out of focus:
It’s very easy to adjust the red dots to the focal point: just cut/engrave a line from left to right with a left-right-skewed workpiece and move afterwards the head position over the smallest footprint. Then adjust the points to a single overlapped point. With this method you don’t have to know the exact focal distance!Z-table
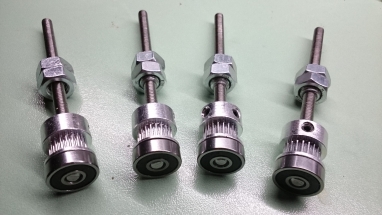
I’ve seen an article LightObject.com: Power table/ bed kit for K40 small laser machine and decided to build this by my own because I had some pulleys, belt and motors laying around. It took about one day, and the complete Table was finished and well working. I ditn’t build the upper frame because the workspace would be affected and the bottom bearings are mounted stable enough to hold the force from the driving belt. In conjunction with the software “VisiCut” G-codes for the Z-axis (focus) are interpreted and executed now, this is very useful when engraving and cutting in one process. Engraving works better if outside of focus (darker burning) whereas cutting has the best results when the workpiece is inbetween the focus.
opensource software
My best and efficient way to get perfect cuttings and/or engravings is the combination of inkscape and VisiCut. Especially the ability to define cuttings per script (Visicut-Laserscript) and the support of parametric SVG is really a highlight not seen by other software (LaserWeb3, Repetier Host, Pronterface etc.). Furthermore, with Visicut you can easily map SVG-attributes of your choice (i.e. pen-color, thickness etc.) to the three main parameters needed for cutting/marking/engraving: speed, power and focus. The output of VisiCut can directly printed (cutted) or saved in the sd-card to be executed from the lasercutter itself as a standalone device. I prefer the last method because the serial connection (via USB) between computer and lasercutter is not so stable especially when pumps and fans are switched. In this situation you often hear the typical “USB-ding-dong” and you know the client has been disconnected and cutting has stopped 🙁“inlens-laserpointer”
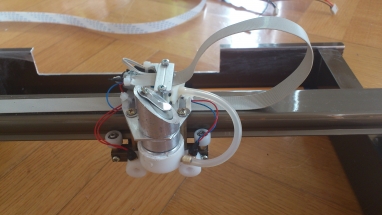
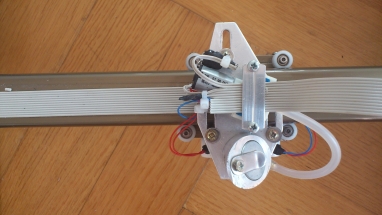
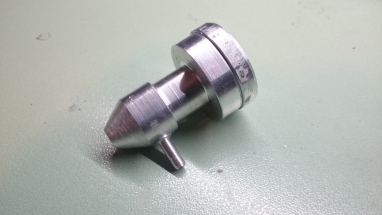
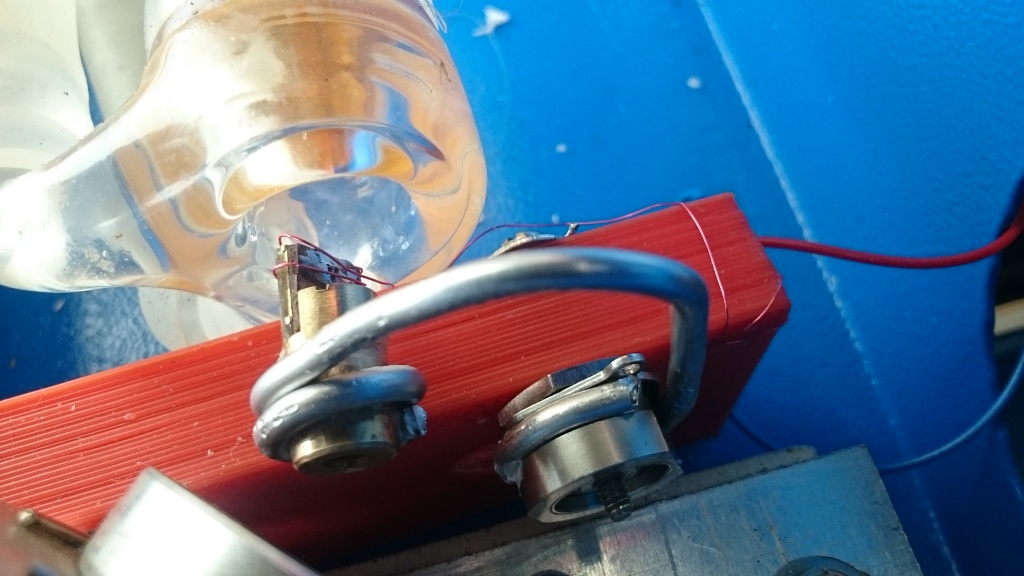
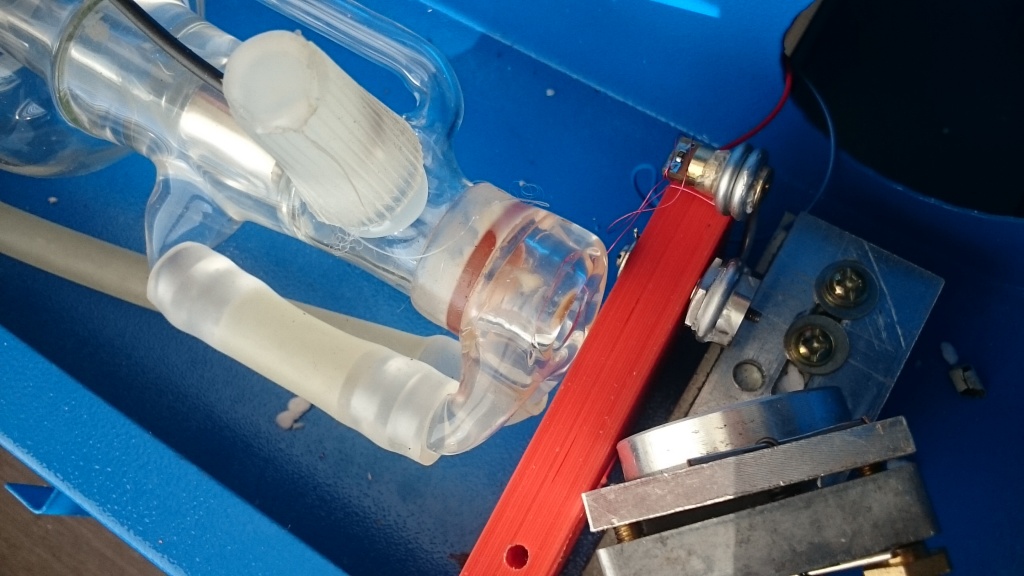
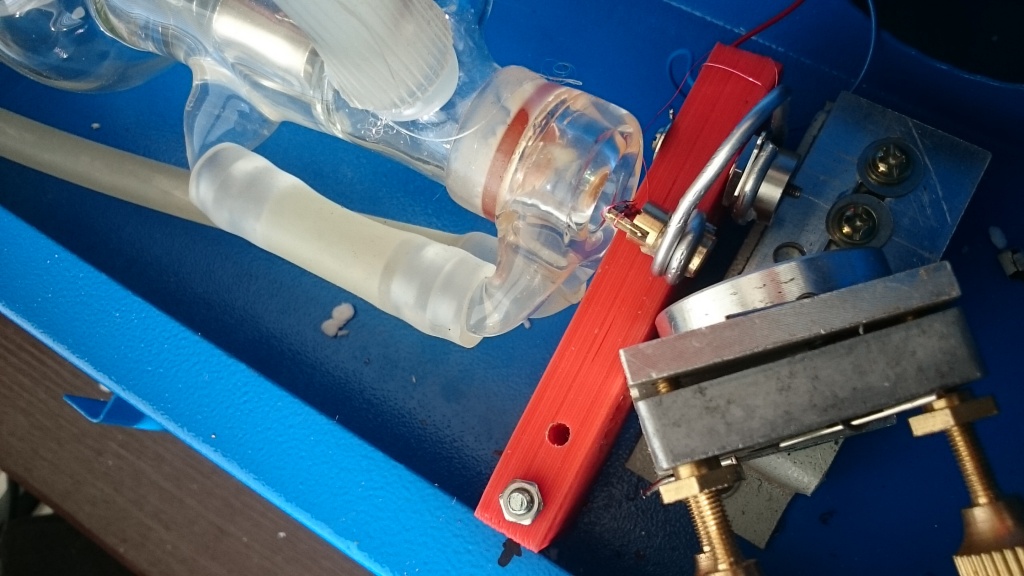
Motivation for this expansion: it’s very annoying adjusting the mirrors after some mechanical work or reassembling the head after cleaning the lens. Therefore I constructed a simple mechanism to bring a laserpointer into the ray path. All you need is a ballbearing from an old harddisk, a small laserpointer module, a 3V-battery with holder and toggle switch and a mounting block (I used an old 3d printerpart). The laserpointer has two positions, in-path and out-of-path, it can be toggled from the working side, no need to open the tube casing. I used a soft aluminium wire (1.5mm diameter) to adjust the laser and connect the lasermodule with the ballbearing. The ballbearing is practical without backlash, so you can exactly reposition the laser when needed. To mount the block, I had to drill a single hole.
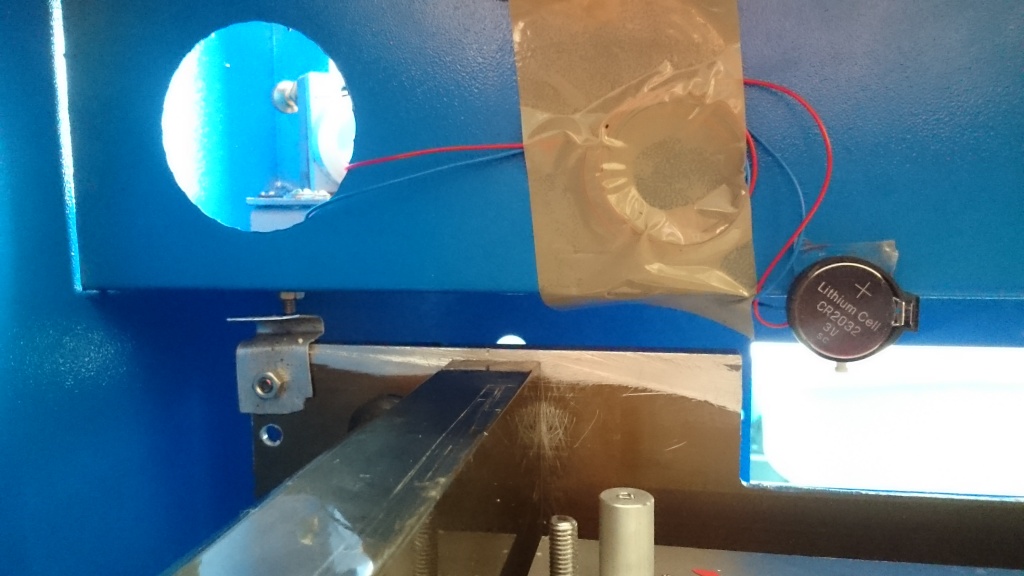
The battery-holder including a switch is mounted with a doublesided tape. Adjusting the laserpointer is relatively easy: make a testshot to a paper, switch OFF the machine, toggle the laserpointer, switch on battery and bend the aluminium wire until you get the spot on the paper. Repeat it on all extreme positions. Once done, you everytime can readjust your mirrors or head without activating the CO2 laser.
Detail view
Battery holder with toggle switch
Outside path
Inside path
The middle dot is coming from the inlens laser (matching exactly the CO2 laser), the dot underneath is the dots coming from the focus gauge.


Homemade Laser-Cutter/engraver (6 Watt):
Controller: Arduino-Mega +Ramps 1.4
Workarea: DIN-A3
Laserdiode: Lasertack 445nm 6W
Transport: Core-XY
Mechanical parts: BAUHAUS (German hardware store)
Software: Inkscape + Universal GCode sender


Laser-Cutter pprojects done with GCC Spirit GLS (60 Watt)
Workarea: 960 x 610 x 180 mm
")
")
")
")
")
")
")
")
")
")


